The tradition of the dressings

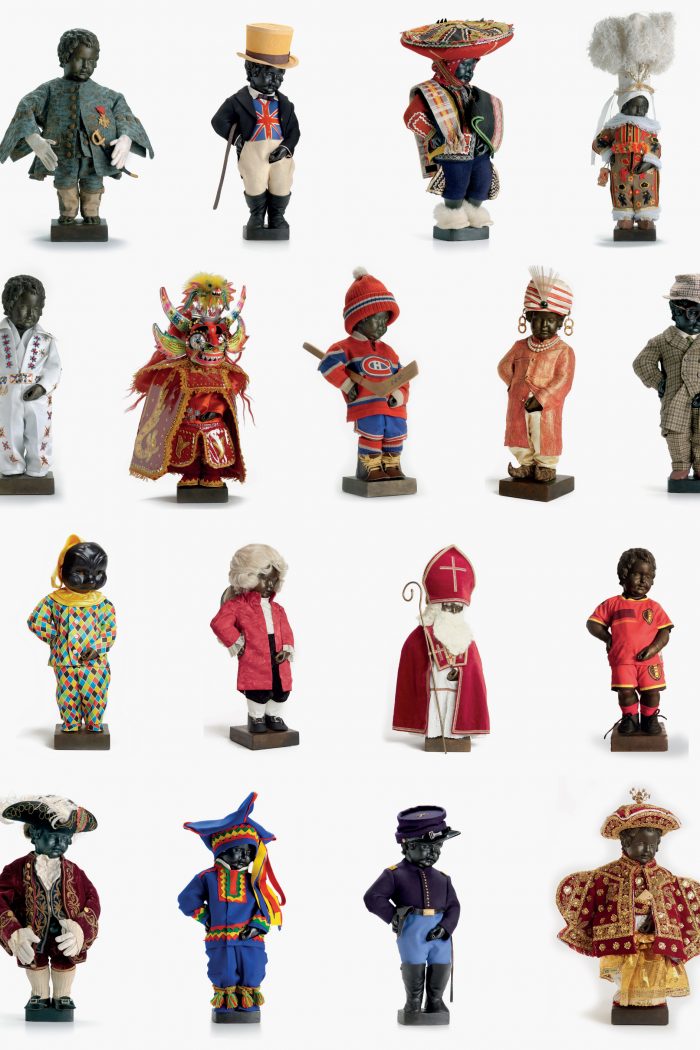
Manneken-Pis spends about half of the year in one of his 1,000 outfits.

This tradition of dressing is truly unique in the world.


Don’t worry, all will be revealed!


Where do all these outfits come from?


The tradition of dressing the statue dates back at least to the 17th century.
In the past, the Brussels authorities or the governors general donated outfits for particular festivities. Back then, only a few outfits were in the collection.


Following the First World War, many donors came forward with an outfit, including veterans’ associations. Between 1919 and 1940, Manneken-Pis received one new outfit each year.


After World War II, the ketje‘s wardrobe grew on average by five to fifteen outfits per year. And by the 1980s, the number of costumes rose to twenty-five.


Today, around 20 to 30 new outfits are added on an annual basis.


These outfits are an integral part of the heritage of the City of Brussels. Each item is inventoried and preserved like a work of art.


©GardeRobe MannekenPis
Daimyo © E.Laurent
Daimyo © E.Laurent

How do you donate a new outfit to Manneken-Pis?

An official request must be sent to the College of Mayor and Aldermen of the City of Brussels. The request can be submitted by e-mail to the official dresser: cjs.mannekenpis@brucity.be


This request is then examined by a commission made up of representatives of the City of Brussels and members of the Friends of the Order of Manneken-Pis.

Certain rules set out the conditions of acceptance, such as:
  • Any reference of an advertising, commercial, political or religious nature cannot be displayed on the outfit.
  • Associations, countries, regions, folk groups, historical groups, etc. must have existed for at least 10 years,


Once an agreement has been reached and the outfit has been designed, it is officially handed over to the city authorities, during a ceremony at the Town Hall. An inauguration ceremony takes place at the fountain and the Manneken-Pis is dressed in his new outfit.
At the end of the day, the new outfit is placed in the wardrobe.

Patron | Patroon
Patron costume | Patroon kostuum

The design

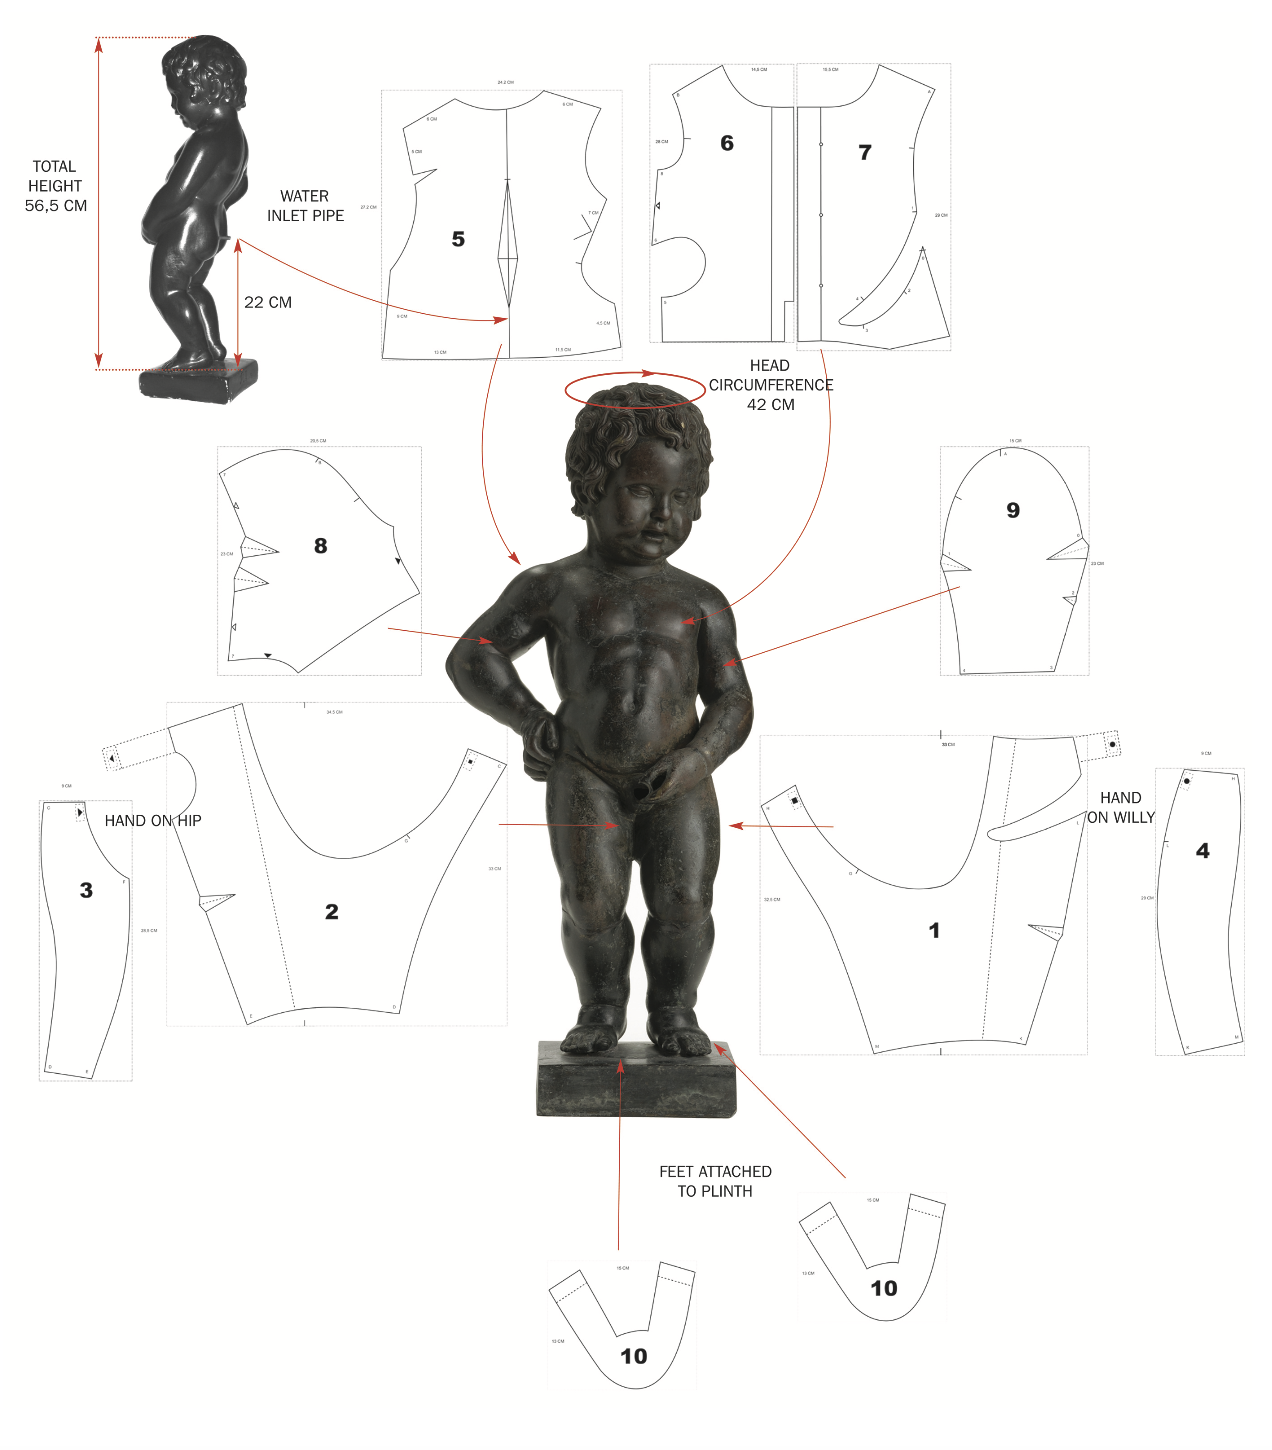
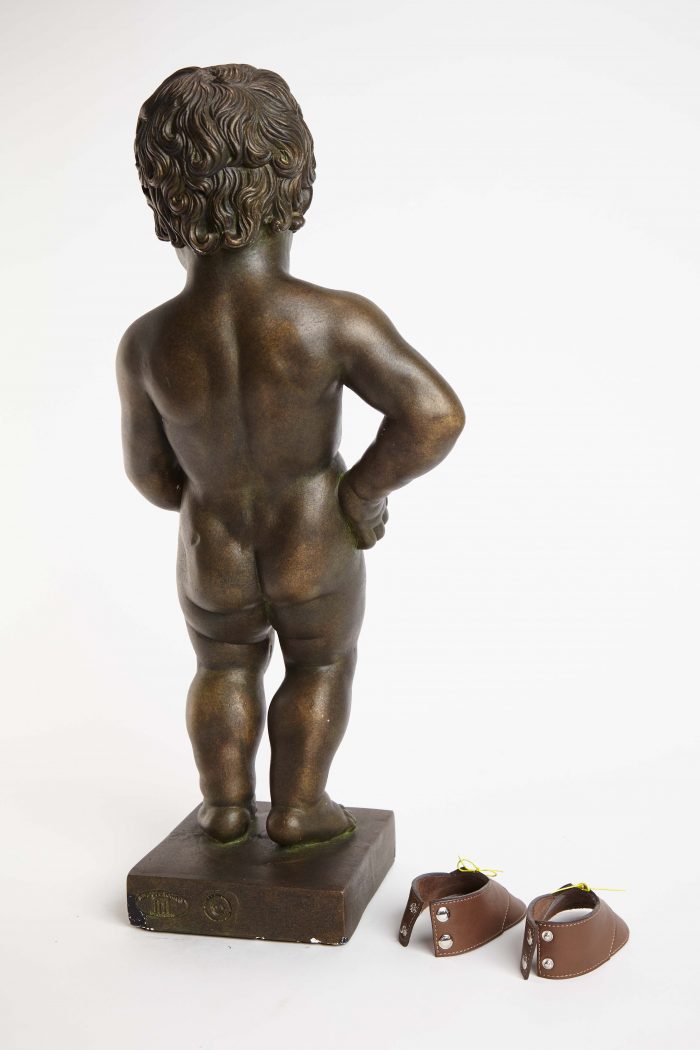
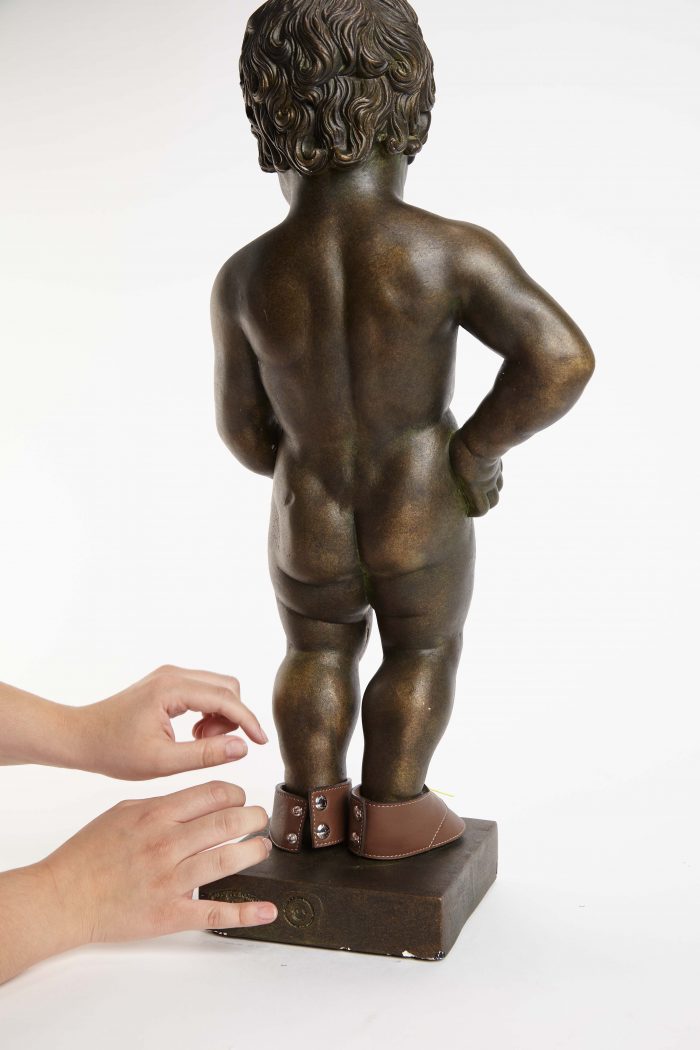
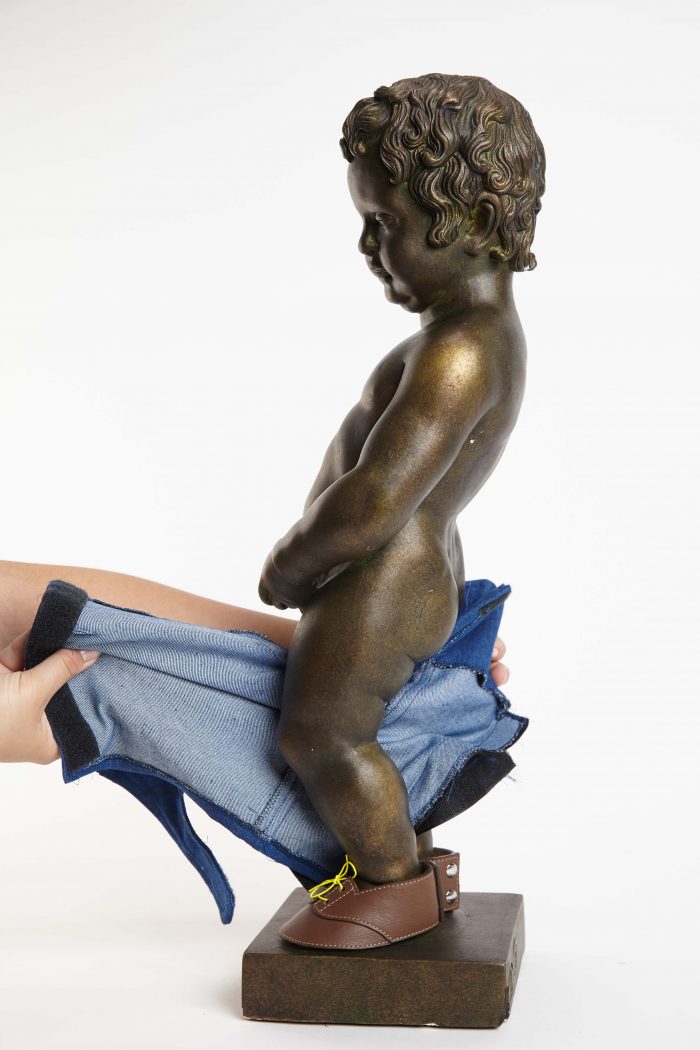
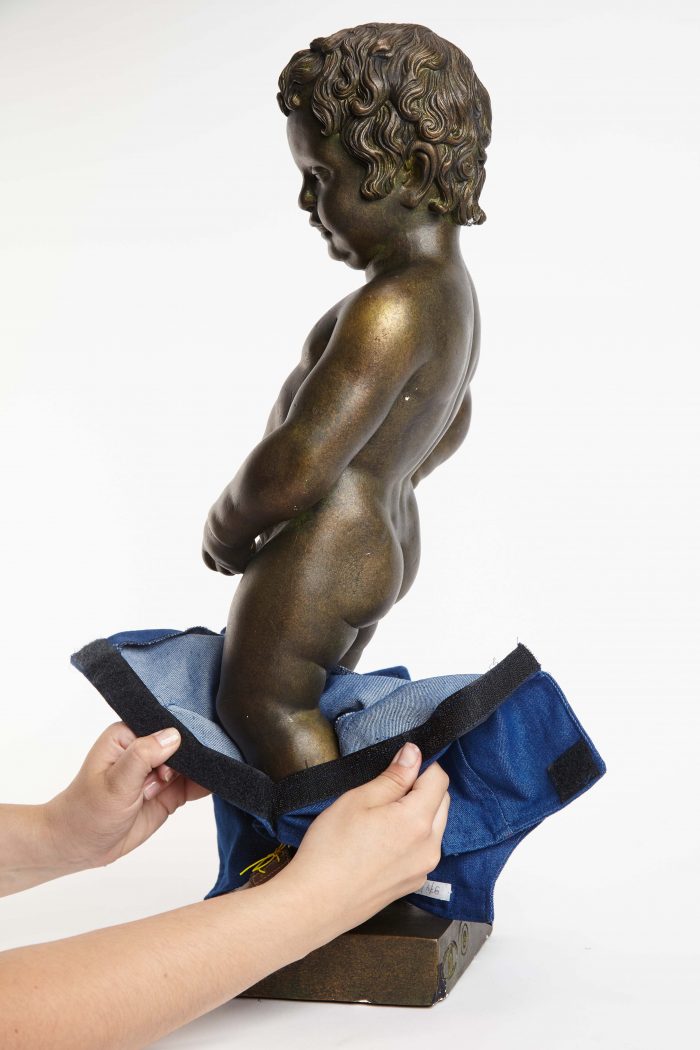
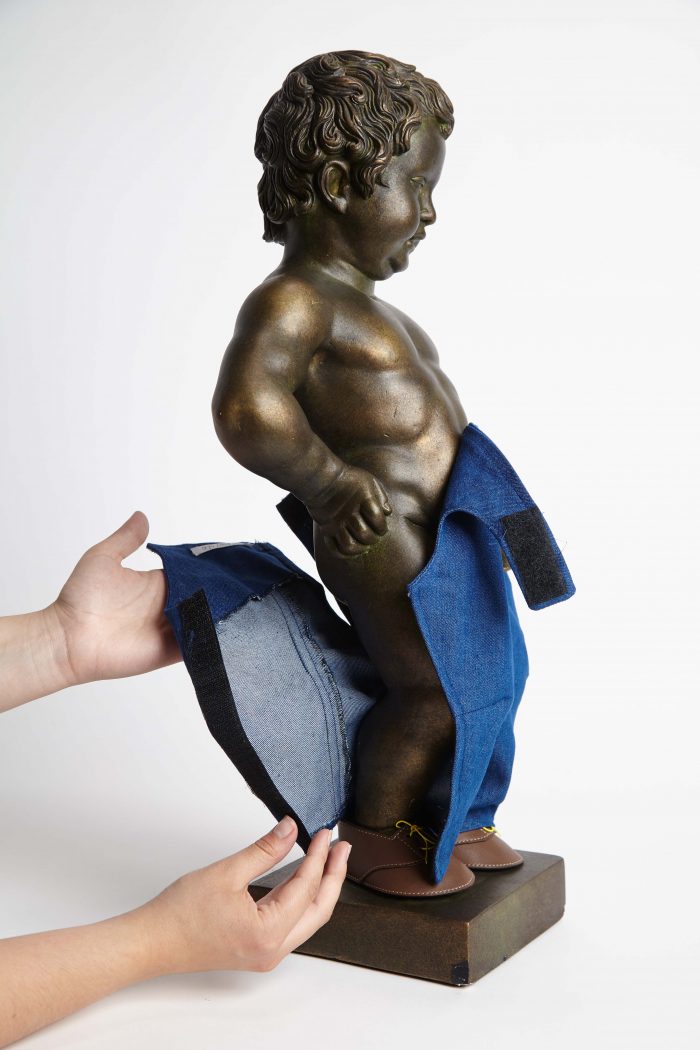
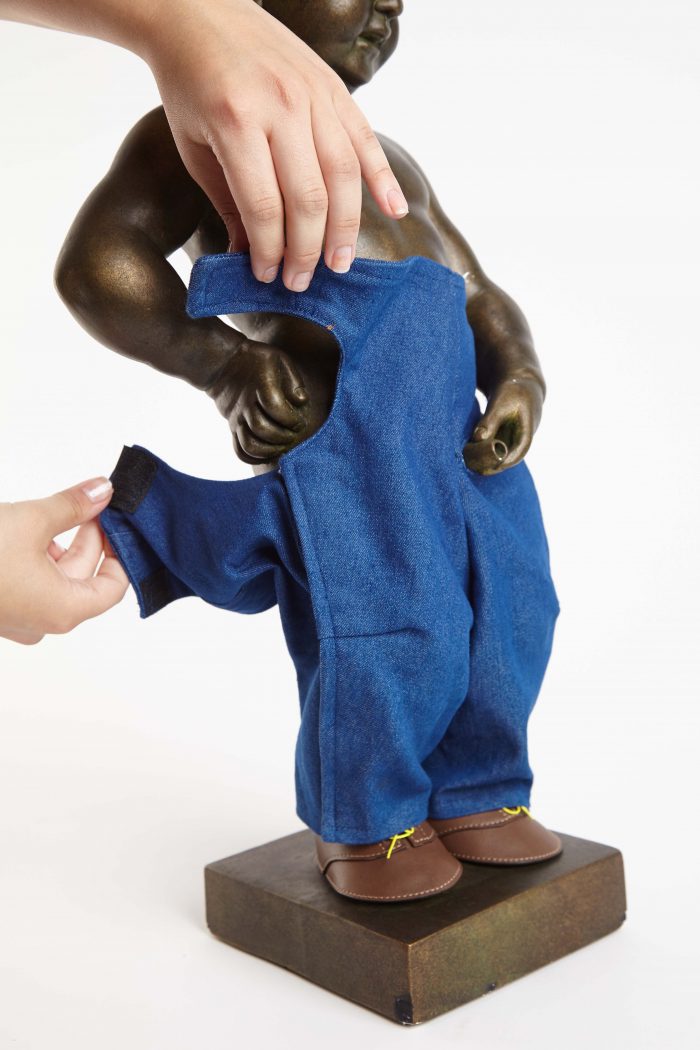
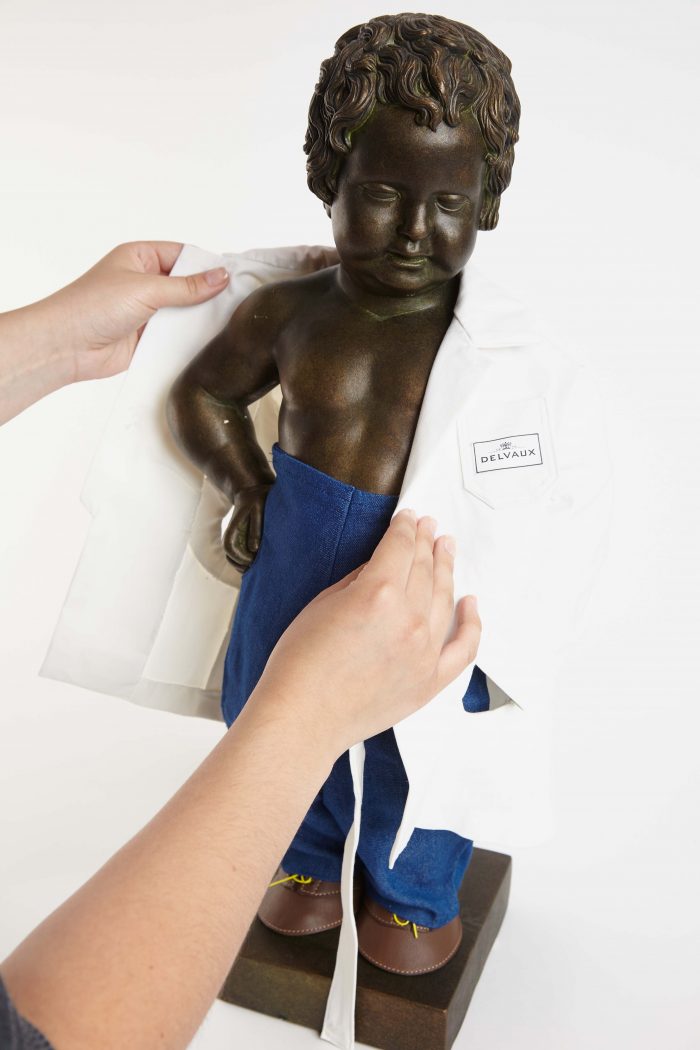
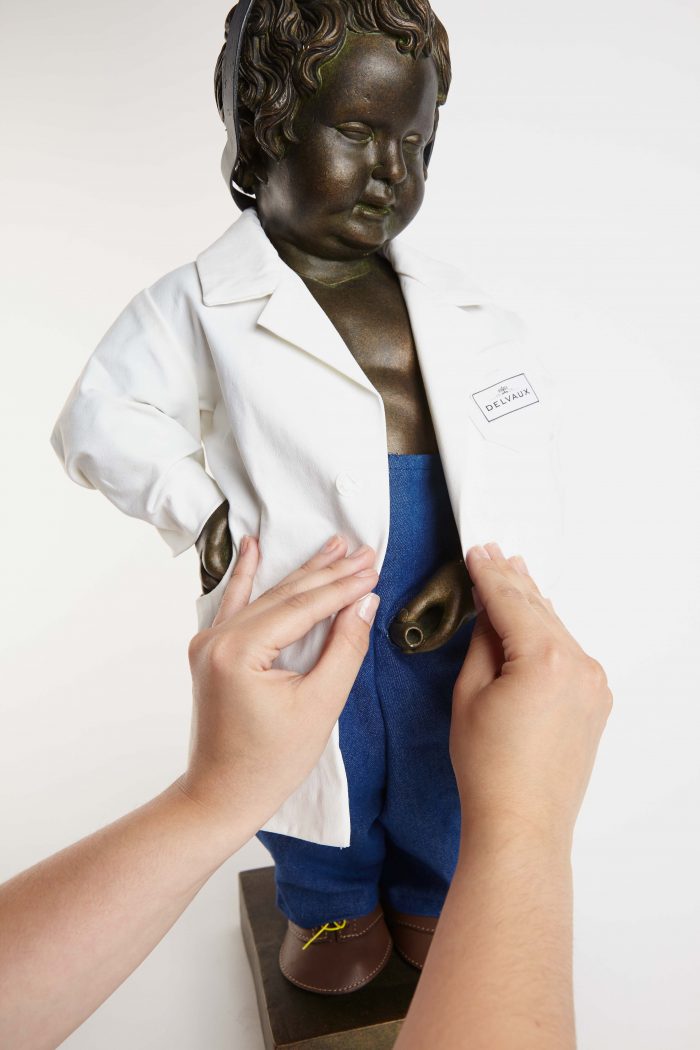
Dressing Manneken-Pis is no easy feat!

  • His hands and feet are attached to the statue.
  • And his size is a little out of the ordinary
  • And one must not forget to add on opening at the back of the outfit for the water pipe. It goes without saying that each outfit will adorn the statue at the fountain at least once.


Since 1945, a pattern has been used to make a new sewing pattern. It includes instructions on the materials to use and the pitfalls to avoid.

Donors can contact the official seamstress or choose a seamstress of their choice but, above all, they must respect the boss.


The dressing in pictures

©Emmanuel Laurent

Step 1: Prepare the footwear

The dressing is done starting from the bottom.
©Emmanuel Laurent

Step 2: Place the shoes on the feet.

The shoes must be adjusted first because the trousers are then placed over the top.
©Emmanuel Laurent

Step 3: Trousers

The legs of the statue are attached to the plinth. The trousers should be fitted around the knees.
©Emmanuel Laurent

Step 4: Put on the trousers

The trousers must be fitted at the front and back of the statue.
©Emmanuel Laurent

Step 5: Attach the trousers

Velcro and buttons on the side allow the trousers to be attached to the legs.
©Emmanuel Laurent

Step 6: Adjust the top of the trousers

The same principle applies as for the legs; the top of the trousers must be fitted between the bust and the arms. These parts must be attached to the hips.
©Emmanuel Laurent

Step 7: Put on the coat, jacket or apron

The top item of clothing is also attached between the arms and the bust.
©Emmanuel Laurent

Step 8: Attach the coat, jacket or apron

The top item of clothing should be perfectly adjusted to the arms.
©Emmanuel Laurent

Step 9: Add accessories

Many outfits include various accessories.
©Emmanuel Laurent

Step 10: Place the hat on his head

A complete outfit includes shoes and a hat.
©Emmanuel Laurent

Step 11 :

Check the back of the statue.
©Emmanuel Laurent

Step 12:

The statue is ready!